Are you looking to remove the aerator from your Delta pull-down kitchen faucet? Or perhaps you have a Moen or Kohler faucet and need to know how to remove the aerator?
You’re not alone – many people struggle with this task, but we’re here to help.
In this article, we’ll provide the best tips for removing the aerator from your faucet, including step-by-step instructions and helpful tools to make the process easier.
Whether you’re a DIY enthusiast or just looking to save money on plumbing repairs, keep reading to learn how to remove the aerator from your Delta, Moen, or Kohler kitchen faucet.
How To Remove Aerator from Moen, Delta, Kohler Pull Down Faucet?
The method to remove the aerator from Moen, Delta, and Kohler pull-down faucet lies in the key that comes with it. Using the teeth of the correct key, you can grasp the aerator easily. Then, you can remove it.
There are several times that faucets get clogged due to dirt and grit. Thus, it would be best if you made sure to clean them regularly.
If you ignore this, it can be a huge problem later on. However, it is a big issue in places where the mineral substance is high in water.
Mostly, doing a simple cleaning is enough. But it is also important to replace the aerator fitting after some time. You can unscrew and remove the aerators easily and then periodically replace them with new ones.
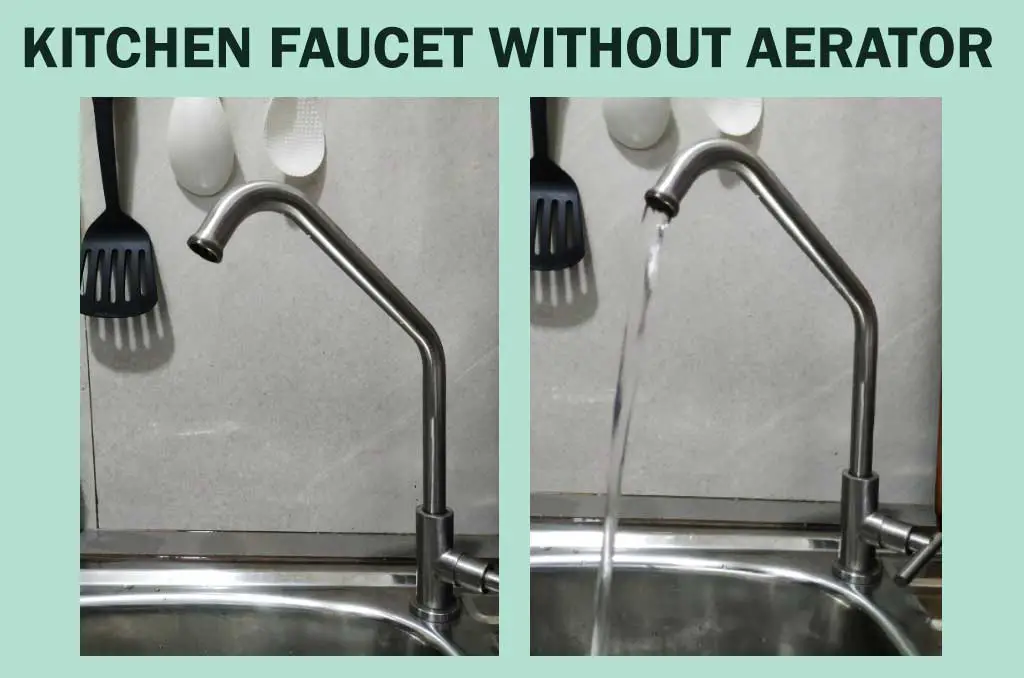
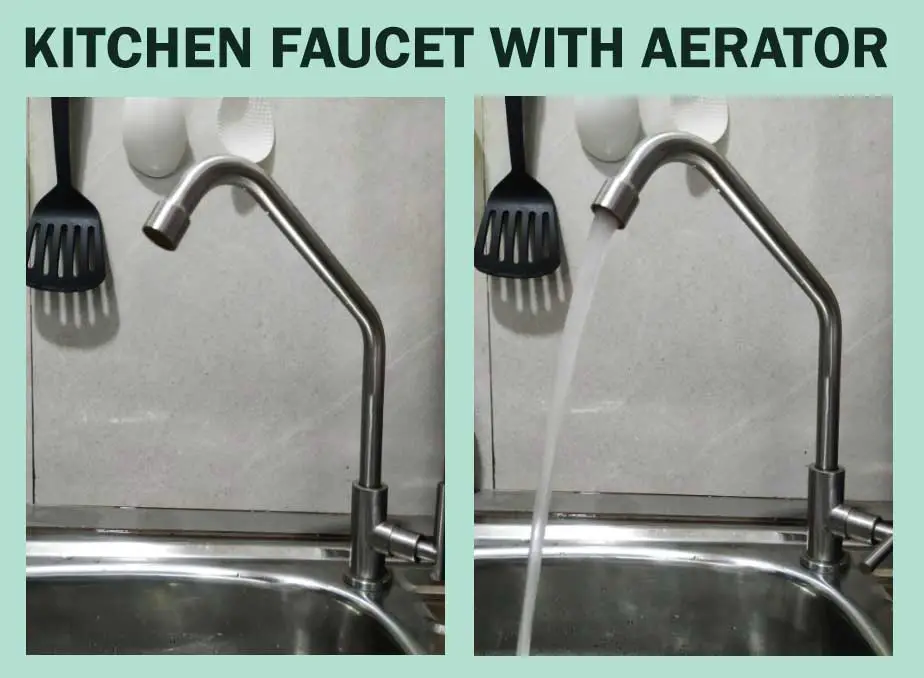
How To Know If the Faucet Has an Aerator?
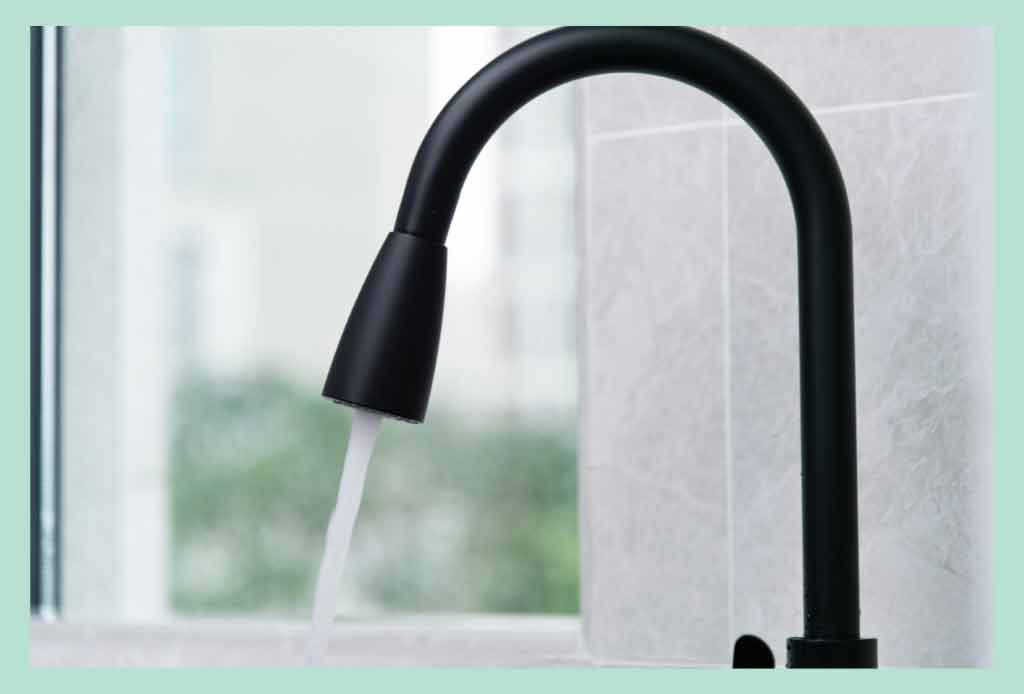
It is simple. When the water from the faucet comes out as tiny bubbles, it has an aerator.
There are various types of aerators.
So, if you cannot see the aerator in the faucet, it is called a cache aerator. This aerator is fitted inside the sport. Hence, to remove this, you must use a wrench.
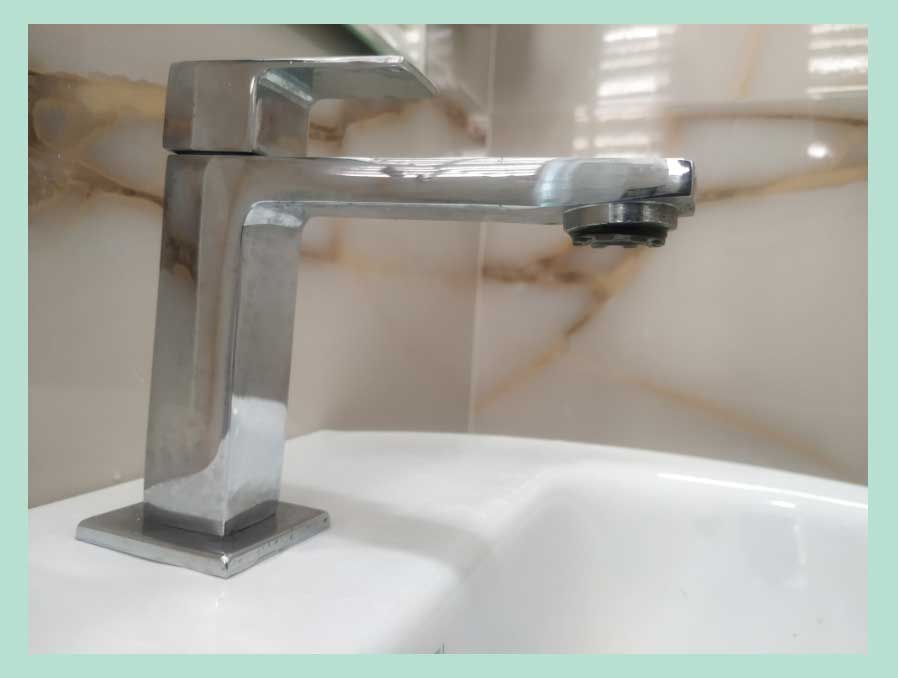
The cache aerators are primarily standard among delta faucets. So, if you are looking to remove the aerator, you must have the right set of tools.
What Is the Purpose of an Aerator?
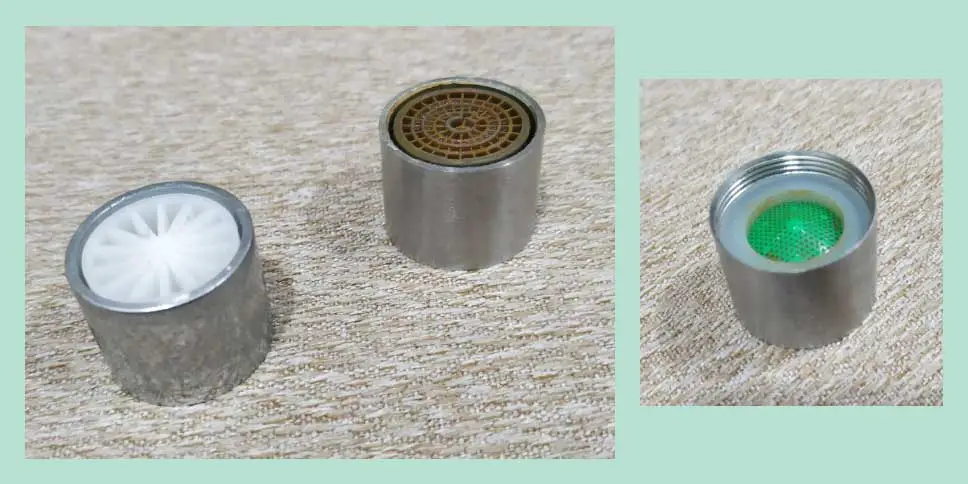
However, as you can understand through the name, the aerator oxygenates water that emerges from the spout. As a result, it reduces the flow, which eventually helps in saving water. The other side of the aerator has several tiny holes that allow for increasing pressure. So, you get a soft and even spray instead of a strong flow.
Thus, these holes have an additional screen that collects the mineral deposits. Along with that, it is easy to clean. Moreover, if you want to clean or replace it properly, you must start by removing it.
How To Remove Aerator from Moen Pull Down Faucet?
Firstly, to start with, several types of Moen aerators are considered male. Do you know why? It is because the springs are located on the aerator. That’s why the Moen aerator remains inside the faucet. Therefore, you will require several unique instruments to remove it.
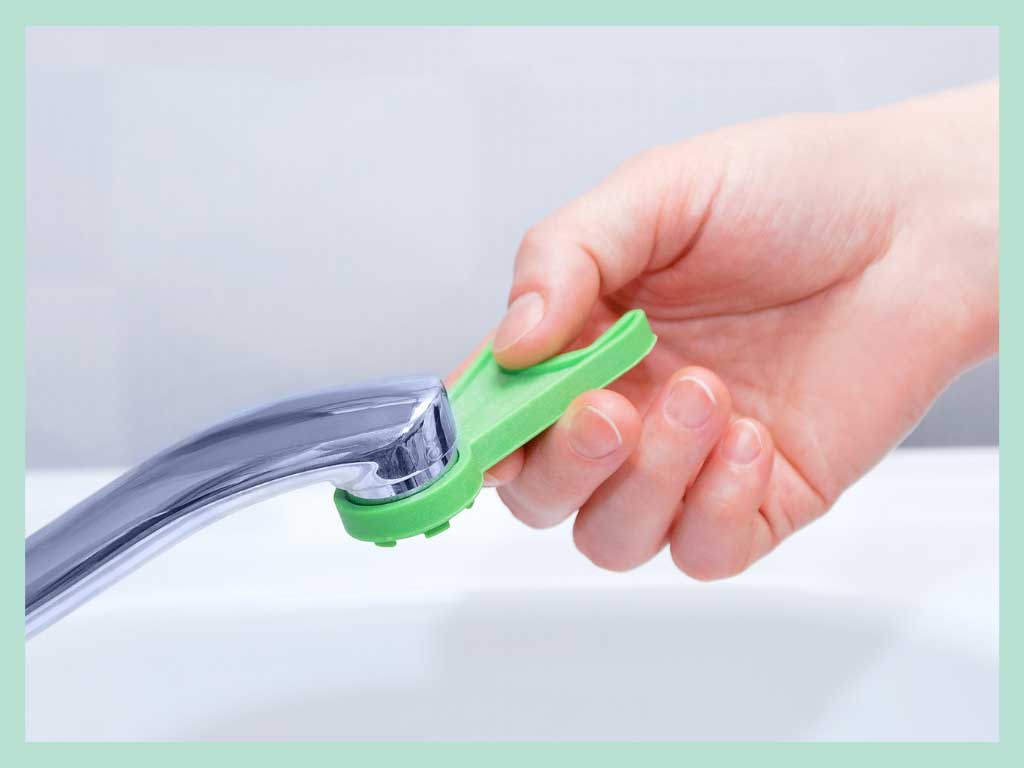
What Is Aerator Key?
A removal tool for any aerator is the “Key.” Moen and Delta aerators are fixed inside the faucet. Hence, it is difficult to remove them if you don’t have the right key.
This key is made of plastic and has a rounded end. Along with that, it also has teeth that line up with the aerator’s teeth. This way, you grasp it well and unscrew the faucet.

You will find various manufacturers that sell keys of different sizes. Moreover, the most valuable and versatile key is the flat key. So, these keys are potent and efficient if you have a cache aerator.
How To Remove Aerator from Delta Pull Down Faucet?
Now, you know that if the water comes out as tiny bubbles, it has an aerator. Also, if you cannot see it on the spout, it is called the store aerator. Hence, store aerator is mainly ordinary among Delta faucets. You can use the Delta key to remove the Delta aerator.
Apart from the Delta key, you can also use other keys to open Delta faucets. But if you still have nothing, you can opt for the DIY method. For that, you can use a knife or a screwdriver.
This will help you to remove the tip with little pressure. Additionally, tap the aerator with the screwdriver and a hammer. This will help release the cluster of minerals that builds up in the aerator.
Furthermore, you can also use pliers with a needle nose. You need to open its jaws, hook the tips with notches, and spin it anti-clockwise to do this.
How To Remove Aerator from Kohler Pull-Down Faucet
When you buy a Kohler faucet, you get a store aerator. But don’t forget to get the key which helps remove that for cleaning occasionally. The key for the Kohler pull-down faucet is small, and it may get lost. So, store this key carefully.
Do you think you cannot remove the faucet on the Kohler Pull down without the key? Don’t worry. Hence, you can easily replace the aerator without much hassle with some simple tricks.
Remember that the store aerator comprises male strings. So, whenever you screw it, it will get inside. Moreover, you can look through a mirror and check whether it is there. Wearing an elastic glove and putting the finger inside to take it out is best.
After that, you must turn your fingers anti-clockwise to unscrew. Thus, you can also use nose pincers on the sides of the aerator to turn it. Buying a removal key from Kohler from any outlet is better. This will make the task easier.
Important Tips to Clean and Remove the Faucet Aerator
First, removing any faucet aerator is not a challenging task. Moreover, it is also essential to know some precautions while removing it. Along with that, you also need to clean the aerators properly. Therefore, these are the following steps that can help you out.
Step 1: Use The Pliers
First, if you don’t have the right tools, you can try using the pliers. Secure the aerator with a cloth that will protect it from scratches. After that, you can use pliers to remove it properly. Furthermore, you can also use pincers for this.
Step 2: Try The Hard Way
Secondly, if you want to try without the tools, you can do that too. Most aerators are fitted manually. So, you can try unscrewing it that way. Remember to dry your hands and faucets to get a firm grip.
Step 3: Heating The Aerator
Thirdly, this step is helpful when you observe that the above steps are not working. To heat the aerator, you can use a hairdryer.
This will help in relieving the metal forceps. After that, you can apply the pressure with pliers to remove the faucet. But if you have plastic faucets, then skip this method.
Step 4: Cleaning It Properly
Additionally, after removing the aerator, separate the parts. This will help you to understand how to fix them the right way. But, before that, you must take a firm brush to clean it properly. If the minerals and grit are much higher, you can dip them in a vinegar solution.
Step 5: Applying Lubricant
Subsequently, you can also use a lubricant to clean up the aerators. You can apply the lubricant to the string and wait a few seconds. Then, you can apply the forceps. Afterward, you can wipe the oil outside the aerator and start unscrewing. You will find that you will put less pressure while removing the aerator.
Conclusion
Henceforth, if you notice that the water pressure decreases, it’s time to clean the aerator. Follow the above steps to remove the aerator carefully and clean all the grit. But, if you see a lot of damage, you must replace it entirely.
Moreover, if you are unsure how to do it, it will be best to call a professional plumber.

James is an organic fertilizer professional who owns a successful organic fertilizer company in new jersey. He is an expert in waste management in both houses and community cases. In his free time, he loves to write about his experiences in the field.
